Sprintervan Build(s) - prep
just getting started Talk about a quick transition. A few days again we were meandering between ski resorts and hot springs chasing (or hoping to chase) snow... now we're in full on work mode. We would never really say that project mode is our favorite, but its always been a necessary part of our existence.
We are where we are in this fight for freedom because we're willing to (and do) work for it. We've never had anything given to us and we actually attribute that to a large part of our success. If there's one thing we know based upon experience it's how to jump all in on a project and get 'er done.
So... on to it!
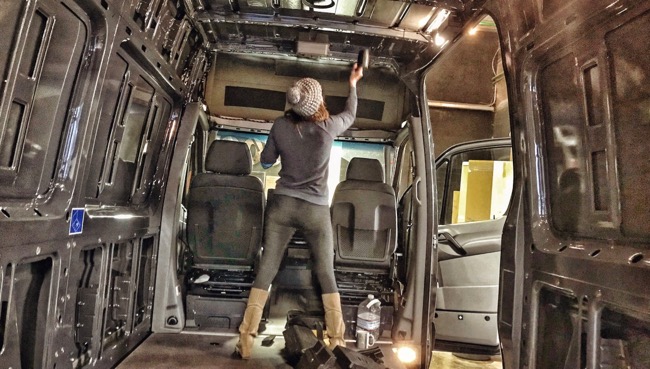
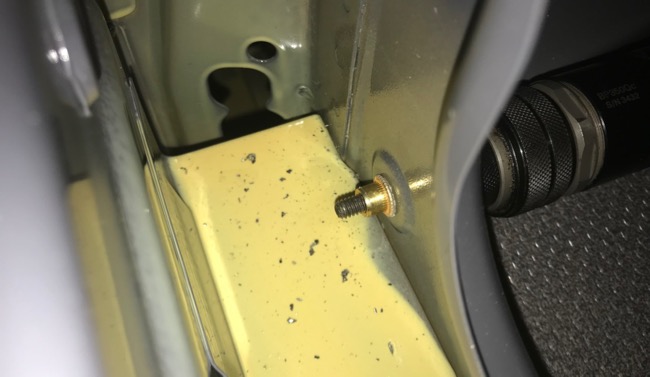
The vans are both being prepped for the work to come. Rerouting wires as needed to keep the cargo portion of the van open and available for camper components. Expanding the factory holes and installing rivnuts (basically the grid of connection points our builds are designed/engineered around) and unlike our other past van builds... figuring out how to protect everything so that it's as shiny and clean when finished/purchased/delivered as it was when we drove it home.
We are also adding the easy components that will never be seen by the final user but make for a better overall experience when driving or sleeping in the van- sound deadener mat is applied to the walls anywhere the factory didn't, and insulation goes into every cavity... but many of those will have to wait until later when we pull wires/conduit through them first.


This last trip was fun because (while waiting on snow that never came) we knew this project was coming and had a chance to test out/compare a few materials during the trip. During one of our last times pulling apart and templating the van before our winter trip we setup the van with two separate "halves" of insulation to do some real world testing. I, like everyone else embarking on a van build have done the hours/days/weeks of research and pages upon pages of reading everyone else's thoughts and opinions on what material ormethod is best... but there's nothing like being able to shoot the laser thermometer at different wall surfaces when its -10 degrees outside to see where cold air is getting in the van (and better yet... where it's not). ;)
Our tests proved that the 3m Thinsulate product we use for insulating is impressive stuff. At some point when we can catch our breath after these builds we'll writeup a full guide with details about all of our suggestions and reasons for each product we use in our builds... but suffice to say this stuff isn't just easy to install- it also works- great!!
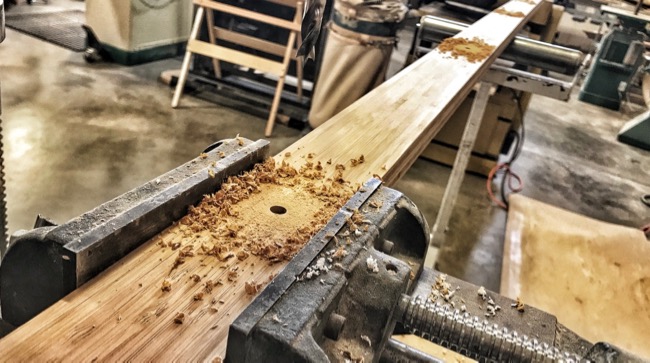

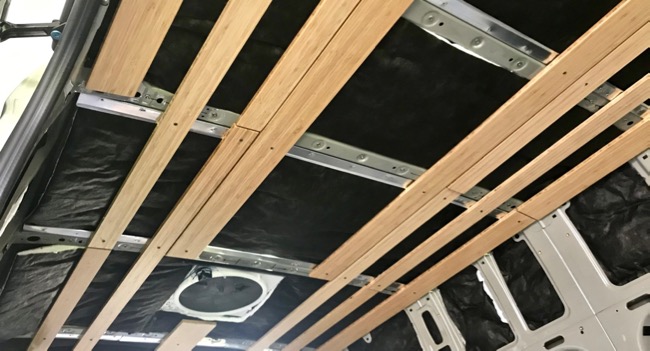 We also started working on some of the interior ceiling panels using our last set as a template. These obviously don't get to go in the van and final for quite some time, but having a few to hold up insulation, conduit and wires has proven helpful in the past... and it's one less thing we have to take care of at the end when timelines inevitably get crunched and stresses can be high.
We also are getting a chance to start seeing the work that has happened while we were away. Luckily we did the work of finding local fabricators and getting some pieces started so that we have some "raw materials" to work with now.
A handful of aluminum frames have been welded up per our drawings and mockups- and we have an (ever growing) stack of bent bamboo panels growing along side them... and can hardly wait to start putting the two together.
It still takes some vision to imagine the final outcome, but to us it's a pretty exciting pile of junk that will transform into something beautiful a couple months from now!

